I have a lot of interesting Do-It-Yourself, projects in the works. I'll be making cheese, sauerkraut, perfume, flavor extracts, soap, all kinds of goodies. In the infamous words of Jed Clampett " Set a spell, Take yer shoes off "
This is my first attempt, at making my own Mascarpone. Long story short, I found it impossible to get the temp. to 190*f. in a double boiler. So I transferred it to a heavy bottom pan, over the lowest flame possible. Worked perfectly.
1-quart heavy cream
2Tbl. lemon juice
or
1pint whipping cream
1Tbl. lemon juice
or
1cup whipping cream
1-1/2tsp. lemon juice
a thermometer
colander
cheesecloth or a thin kitchen towel
Pour the cream into a heavy bottom saucepan, and clip a thermometer onto it.
Heat the cream to 190*F. over a low flame, stirring often. turn the burner off.
Stir in the lemon juice, and try keeping it at the same temp. for 5 minutes, or until thick enough to coat a spoon. Just make sure it doesn't reach 212*F (boiling)
After 5 minutes, set it on the counter, and let cool. I allowed it to set at room temp. for two hours, to give it a bit longer, to thicken.
Line a colander with a thin kitchen towel, or several thicknesses of cheesecloth, and set it over a bowl.
Slowly pour the cheese into the colander.
Cover with plastic wrap, and refrigerate, at least, overnight. The longer you allow the whey to drip, the thicker it will be. If you want very thick cheese, leave it in the fridge another day.
Scrape the cheese from the cloth, into a bowl, it's ready to use.
After letting it cool 2-hours, pour it into a cloth lined colander, over a bowl. Cover with plastic wrap, and refrigerate, overnight.
Transfer the cheese, to a container. Use a rubber spatula to scrape the cheese, clinging to the cloth.
1-quart of cream, yielded a little over 2-cups of cheese
For every cup of flour:
Remove 2Tbl. of flour, and replace it with 2Tbl.of cornstarch. Sift 5 or six times.
If you recipe calls for a fraction of a cup:
3/4cup - 4-1/2tsp. cornstarch
2/3cup - 4tsp. cornstarch
1/2cup - 1Tbl. cornstarch
1/3cup - 2tsp. cornstarch
1/4cup - 1-1/2tsp. cornstarch
So if a recipe calls for 2-1/3cups cake flour.
Measure out 2-1/3cups of all-purpose flour.
Remove 4Tbl. plus 2tsp. flour.
Add 4Tbl. plus 2tsp. of cornstarch.
Sift the flour, by pouring it into a strainer, over a bowl, tapping the side of the strainer.
Repeat the sifting, 4 or 5 more times. Re-measure before adding it to a recipe, the sifting will increase the volume a bit. Dump any remaining cake flour, back into the all-purpose.
When I was young, and idealistic, I decided I was going to grow old gracefully. I wasn't going to fight it, no hair dye, no anti-wrinkle cream, no poodle-perm, just accept myself, for who I am....ya right.
As I became "of a certain age" I found nothing graceful about it what..so..ever!
I noticed my skin becoming dull, and fine lines appearing... you know, the usual aging routine. I found out, quite by accident, that a lot of that is due to a thin layer of dry, skin. Not the flaky dry skin, but stuff that is really attached. I'd used all kinds of exfoliators, trying to remove it, loofa, pumice, expensive creams. Nothing really made a lot of difference. Then one day I found a recipe for homemade Biore-type gel. It works just as well as Biore, to remove stuff from your pores, by the way. But it had an added side effect, that really made my day, It peeled away, that dull layer of skin, I was left with bright, new, healthy, pink skin. A lot less lines, too. I use it about once a month.
Take that -Mother Nature! Now, if only I could do something, about those wiry grey hairs..
Ingredients:
1spoon unflavored gelatin
2 spoons water
Stir together, and microwave 10 seconds.Allow to cool 2-minutes, and spread onto skin.
Avoid getting any on your eyebrows or hairline. It will remove any hair it comes in contact with.
As a precaution, I wipe along my hairline and brows, with a wet cloth, just in case.
Let it dry, until your face feels really tight.
Peel away the dried gel. Splash water on you face to dissolve, any leftover particles. Pat dry, and follow with a light moisturizer, to protect the newly exposed skin.
In a microwave safe container, add 1spoon of unflavored gelatin.
Stir in, two spoons of water.
Microwave 10-seconds, and allow to cool 2-minutes, before applying it to your skin. make sure you put it on thick enough, that it will be easier to peel.
After having spent nearly $8.00 for a bottle of grated lemon peel, I
wondered if it was safe, to grate your own, and air dry them. Turns out,
you can.
Grate the skin, being careful, not to remove any of the pith.
Spread them thinly, on a plate, and let them air dry. I was concerned, they might stick to the plate, so I tossed them, a few times, during the first 24-hours.
It took 4 days, for them to dry.
Pulse them a few times, in a spice grinder or food processor. 4 oranges yielded about 1/4-cup.
Coconut Oil - Hand Cream. You can find coconut oil, in the cooking oil section, of your grocer.
Spoon coconut oil into a jar. Heat it in the microwave, a few seconds, to melt.
Stir in a few drops of fragrance oil, if you like.
Allow to cool, until it becomes solid again.
To use it, just run your fingers across the oil, it melts at body temperature.
Rub onto your skin, it doesn't take much. A small container lasts a long time.
Vanilla parfum and Madagascar Vanilla Parfum. You can get small spray bottles for about $1.00, or recycle an old one.
I make several different parfums, different scents for different moods, but vanilla is hands down, my favorite, to wear. I don't mean that fake-vanilla scent in many colognes, but the scent of real vanilla, like Pierre Montale-$130.00 a bottle, or Serge Lutens-$240.00 a bottle. I'm going to show you, how I make my favorite parfum, from vanilla beans, but first here's a little F.Y.I.
Did you know, Vanilla is considered one of the top aphrodisiacs? Musk and Jasmine are at the top of the list too.
Using high quality fragrance oils(synthetic), or essential oils, you
can create high quality parfum, for less than a really cheap bottle of
cologne.
In the parfum industry, there are universal measurement classifications, that are used. The fragrance is mixed with high quality, alcohol, a light neutral oil, (like jojoba, grape-seed, or fractionated-coconut oils.) and distilled water
Parfum is 20-30% scent, such as extracts, essential oils, or fragrance oils
Eau de Pafum is 15 % scent
Cologne is 5% scent
Splash is 1-2% scent
First extract the scent from vanilla beans by:
Put 3-5 vanilla beans in a jar, with a lid, and cover with vodka. Place the lid, and set it in a dark cool place. Shake once a week. Steep for 6 months. You can speed up the process, considerably, if you split the beans, cut them into small pieces, then cover with vodka. Steep for 2-3months, or until it has a strong vanilla aroma. Strain before using. I use a coffee filter, in a funnel.
Ingredients for the parfum:
2Tbl. oil - used to make the scent, cling to your skin
6Tbl. vodka (it's almost as pure as the alcohol used in parfumery)
2Tbl. distilled water
1/4cup of the vanilla, you extracted
Add all ingredients to a spray bottle. shake well. I let it blend for a couple of weeks, before I start using the fragrance, shaking once a day. Once you begin using the parfum, shake before each use.
As a perfume doth remain,
In the folds where it hath lain,
So the thought of you, remaining,
Deeply folded in my brain,
Will not leave me, all things leave me,
You remain.
From_'You Remain'- Aurthur Symons
Graham Cracker Crumbs - From Scratch
I'm gearing up for the Holiday season. I go through a lot of graham
cracker crumbs, at that time. It can get pretty expensive, cooking for
around 30 people, so I try to cut costs, where I can. Plus I get the
added satisfaction, of making ingredients from scratch. This makes about
4-3/4cups, if you can keep everyone from nibbling on them, as they are
cooling. If you want to make graham crackers instead, chill the dough
overnight, and roll on a heavily floured surface, to about, 1/8-inch
thick, cut and bake, like a cookie. (which is what graham crackers
actually are.) There are no preservatives in these, so you need to
refrigerate until needed.
Ingredients:
1/4cup honey
1/4cup milk or cream
1Tbl. molasses
1Tbl. vanilla
2-3/4cups flour
1cup brown sugar
1/2tsp. salt
1/2tsp. cinnamon
1tsp. baking soda
1stick of butter-cold
Preparation:
Preheat the oven to 350*F.
Spray one large, or two regular cookie sheets with cooking spray.
In a small bowl, whisk together the honey, milk, molasses, and vanilla. Set aside.
In a large bowl, whisk together the flour, sugar, salt, cinnamon, and baking soda, until well combined.
With a pastry cutter, cut in the butter, until it resembles sand. (No large particles.)
Stir in the honey mixture until well combined.
Gather the dough into a ball. Press the dough onto prepared cookie sheet(s), to 1/8-inch thickness.
You can bake as is, or cut for easier handling. I use a pizza cutter
Bake for 20-minutes, or until browned, and somewhat firm, to the touch.
Cool, and grind into crumbs, in a food processor.
Combine the flour mixture, and the honey mixture. Form into a ball.
Press the dough, onto a greased cookie sheet. I cut them, to make them easier to break apart.
Bake until they are just beginning to brown, and starting to firm up, a bit. (About 20 minutes)
Let them cool, a few minutes, then while still warm, break them into small pieces, and cool completely.
Grind them into fine crumbs, with a food processor, sift out large particles, with a large mesh, strainer, and re-grind them.
There is only one species Vanilla Plantifolia flower of vanilla orchid, that is used for cooking and perfumery. Vanilla beans, growing on the vine. Vanilla is grown in many different regions of the world. Madagascar, Tahiti, Mexico, New Guinea, Indonesia, Tonga, India. Each have a distinctively, unique flavor. My favorite has continued to be, Mexican vanilla. It has a sweeter, candy-like taste, to me. Tahitian is a close, second.
Vodka is most commonly used, to make vanilla extract. But Rum and Bourbon are also very popular, but add other spices to the extract.
Here in the Midwest, A good bottle of extract is about $7.00....2 vanilla beans from the spice section, of my grocer, costs, anywhere from $11.00 to $15.00. I have found, you can get good quality, cheap vanilla beans from Ebay stores. I have included Ebay links for my 3 favorite vanilla beans. This extract is of a superior quality, over the store bought kind, and you can taste the difference. I grew a vanilla orchid, once. It grew and grew, for about five years, I but never flowered. So I gave it away.
Ingredients:
3 vanilla beans
1 cup of your preferred alcohol
A small jar with a lid.
Split the beans, cut them to fit, if needed. The flavor comes from the seeds inside, scrape any loose seeds, into the jar. Add the vanilla and vodka, to the jar, and shake a few times. Steep in a dark place, for 1-6 months. Shake the bottle, once a week. I test it in a recipe, after 1 month. If it has a good, strong flavor, Then I strain, and bottle it. You can get a second bottle, by adding another cup of vodka, then steep it for about 3-6 months.
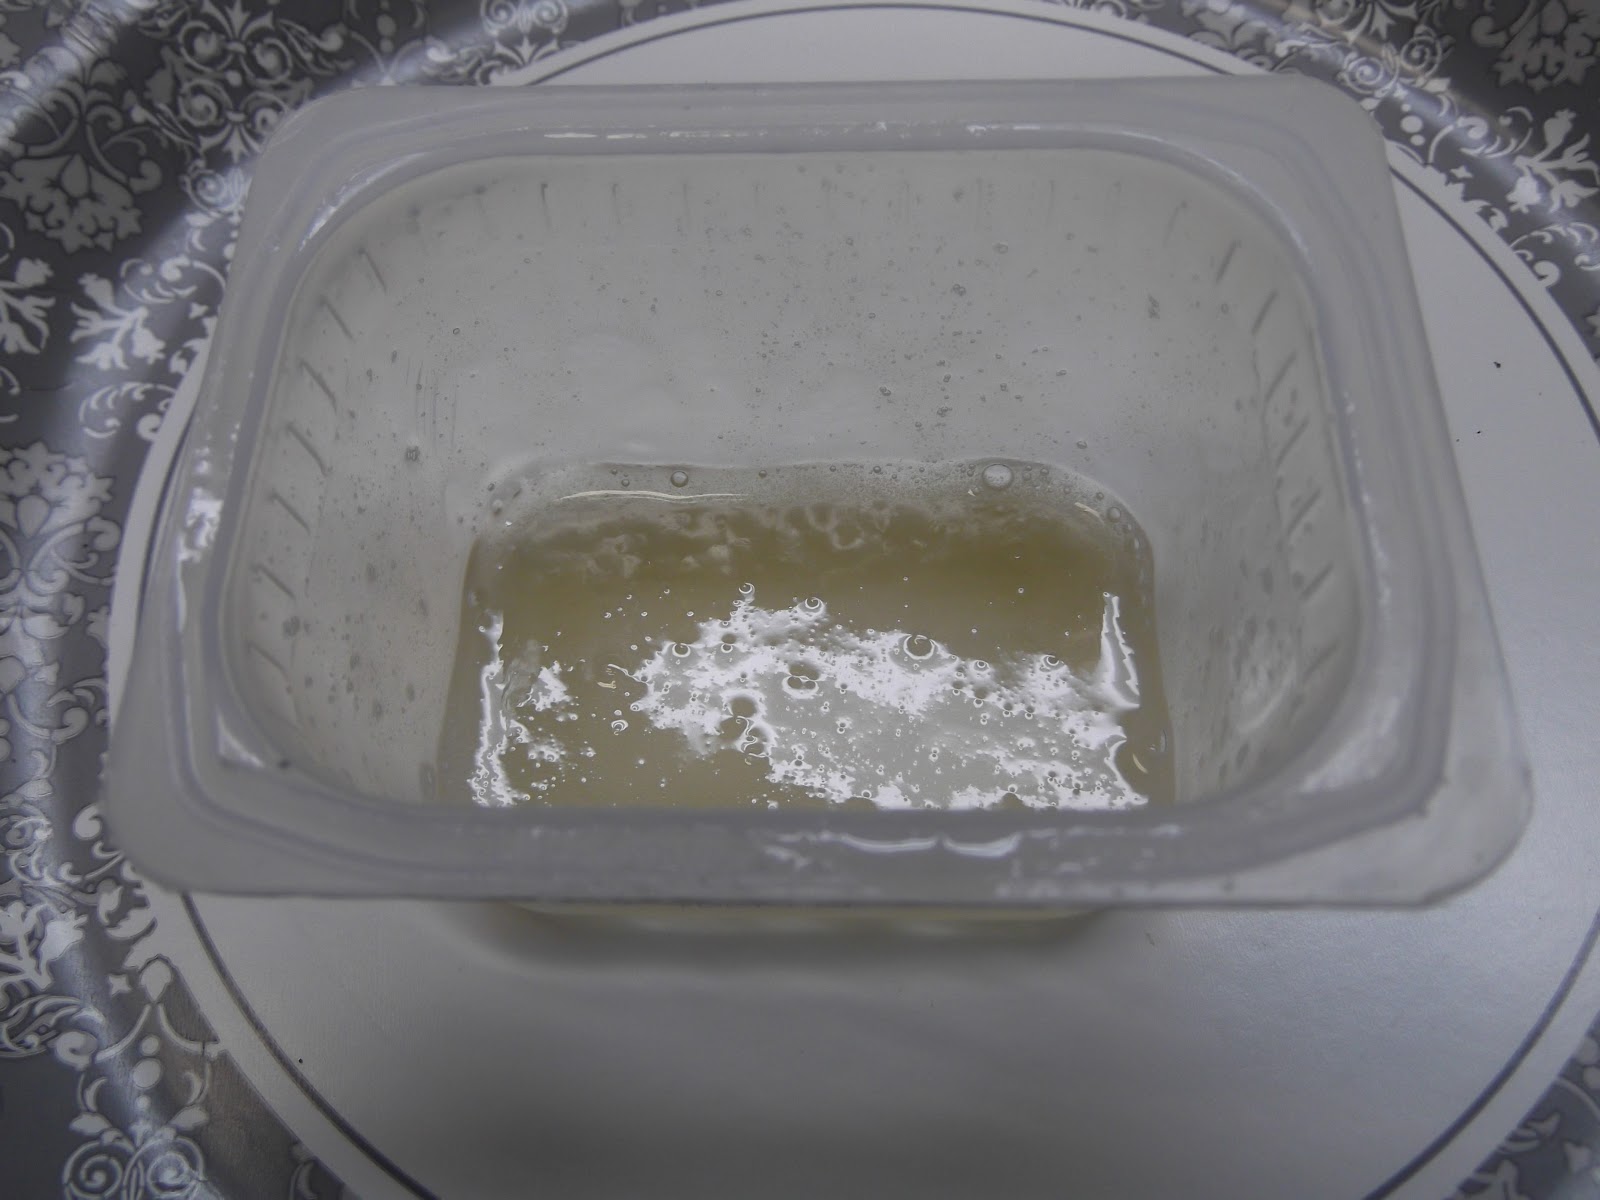
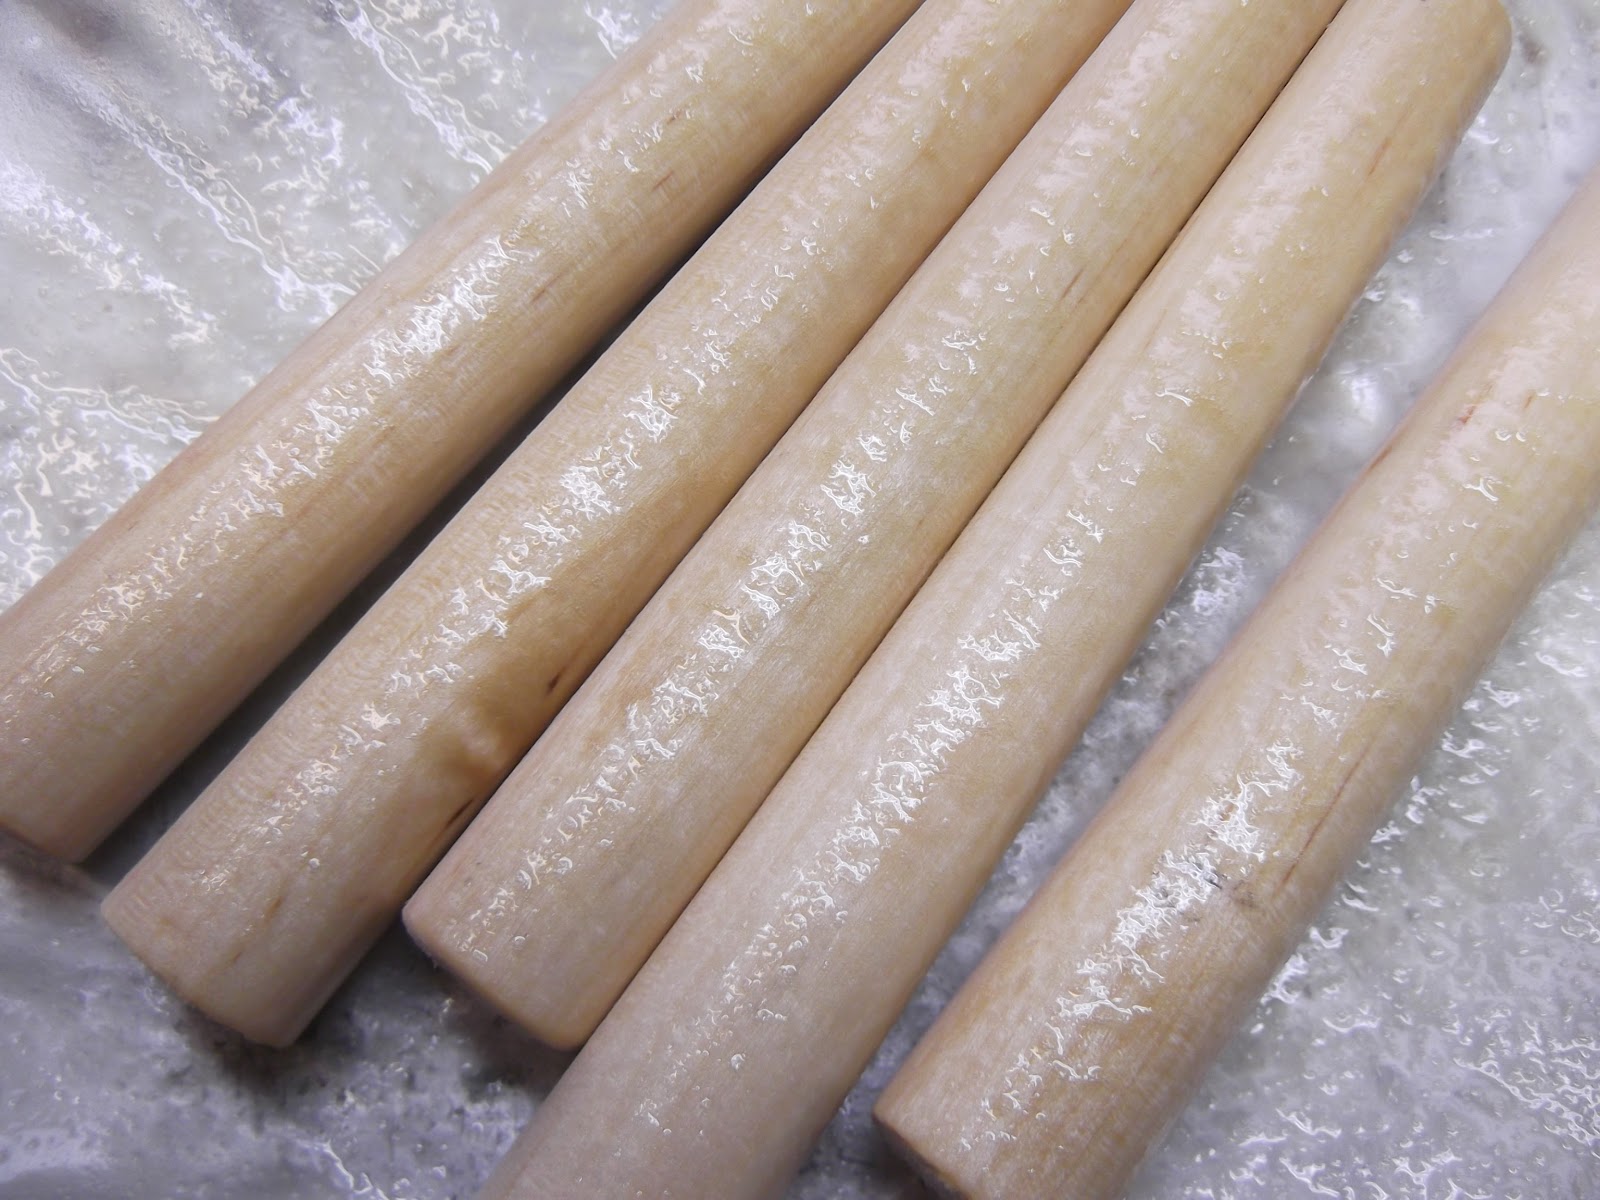
Cream horns, were called clothespin cookies, by early American settlers. They used round wooden clothespins, as forms. You can buy the metal forms, and they will actually be horn shaped, but I like D.I.Y. projects. These work great, and cost less than $5.00 a dozen. Spray them between each batch, you form.
I used 5/8-inch x 36-inch wooden dowels, cut into 5-inch lengths. You can use a larger diameter, if you like. These are made from a very soft wood (balsa-I think) So they're very easy to sand. I beveled the edges a little too. You need at least a dozen forms.
Wash the dust from sanding, and allow to dry, completely. I sprayed them heavily, with canola oil, and let them stand overnight. The next day, I sprayed them again, and let them stand overnight. I washed them the next morning. They are ready to use. Don't leave the oil on them, or it will turn rancid. Spray before using, and wash after each use. The canola spray, works better than anything else I've tried. (I use Crisco brand)
My poor hair has been looking a bit rough lately, so I threw together my favorite hair mask. I've heard it said, that some people have had problems, with banana leaving particles (banana seeds) in their hair, after washing. This photo was taken after my hair dried. I only combed it once, right after I towel dried. I never see particles, and my hair feels so much softer and manageable, after just one use. It feels lighter than conditioner. Any of these ingredients can be used on skin, too.
1 can coconut milk-(moisturizes, nourishes, helps with frizz)
3 bananas-(moisturizes, nourishes)
1 peeled avocado-(moisturizes, nourishes)
2Tbl. honey- (a humectant, and helps with frizz )
1tsp. almond oil-(moisturizes, helps with frizz, for shine)
1tsp. vinegar- (for shine)
1/2tsp almond extract-(fragrance)
1/2tsp vanilla extract-(fragrance)
Puree all ingredients, in a blender, for 5 minutes. Saturate dry hair, with the mask. (It will not be thick.) Wrap your hair in plastic wrap for one hour. Refrigerate remainder.
Give your family the 'Vulcan Salute' or say, "I come in peace", or "Nan-oo nan-oo" because you look like a bad sci-fi movie.
After 1-hour, rinse well, and wash hair. It's OK to use a conditioner too, if you hair is very dry.
I also use 1 cup, in my bath, for a moisturizing, bath soak. I use it, before each hair washing, until I have emptied the container. Makes 2 to 3 cups.
Here are some other ingredients that can be beneficial.
yogurt-(softens and makes hair manageable)
egg-( for splitting hair, nourishes)
cucumber-(moisturizes, nourishes)
lemon-(brightens blonde hair)
cocoa powder-(moisturizes and deepens dark hair)
strawberry-(shine, nourishes)
Kiwi-(moisturizes, nourishes)
milk-(moisturizes)
This is the old frontier method. Instead of using a yeast packet, to start your sourdough, you capture wild yeast from your kitchen. The method is the same, but slower. And you have the advantage of having a unique flavor, from all those wild buggers. The older your starter gets, the better it becomes. You will begin to smell the yeast after the first day, the yeast consumes the sugars in the flour, and gives off alcohol, and carbon dioxide. The carbon dioxide is what's in, all those bubbles you see. The yeast multiplying, and the carbon dioxide, is what makes the bread rise.
Day-1:
Sir together 1/2 cup flour and 1/2cup water. Mix well. Put the starter in a large container. Cover with a thin cloth, and secure it with a rubber band. Let stand 24 hours. This allows the starter, to capture live yeast, from the air. You will be adding, flour and water, everyday, to feed the yeast.
Day-2:
Add 1/2cup water and 1/2 cup flour. Stir vigorously. let stand 24 hours. You will begin to smell the yeast.
Day-3:
Add 1/2cup water and 1/2cup flour. Stir vigorously. let stand 24 hours. It will begin to smell it sour, and a layer of alcohol will form on the surface.
Day-4
Add 1/2cup water and 1/2cup flour. Stir vigorously. let stand 24 hours. Almost ready.
Day-5
You can begin to use your sourdough. I keep mine in the fridge, which slows down the rate of growth.
Once a week:
Remove 1 cup of starter, from the container, and use it for baking, or freeze it.
Add 1 cup flour and 1 cup water, back to the container, stirring it in vigorously.
Put it back in the fridge, until next week
If you want to use your starter, more than once a week. Don't put it in the fridge. Here's King Aurthur Flour co.'s instructions for maintaining your starter at room temp.
Ingredients:
1cup horseradish- cut into 1/2-inch pieces
1/2cup water
1/4cup white vinegar
1/4tsp. salt
1/4tsp. sugar
Preparation:
In a food processor, or blender, combine all
ingredients. Process until the horseradish is finely grated. Refrigerate. Good for 6 months. If you see a change in color, or becomes darker, throw it out.
Only peril can bring the French together. One can't
impose unity out of the blue on a country that has 265 different kinds
of cheese. - Charles de Gaulle
Garlic and Dill-Cheddar Cheese Curds.
It's funny, the way family and friends can influence you, and expose you to new and wonderful things, that you wouldn't stumble on yourself, and visa-versa. Most of my family are 'Rambling Roses'. I remember my Mother, quite frequently, during summer vacation from school, announcing early in the morning, that we were going on a day trip. Often, they were historical sites, or a dairy farm, strawberry farm, etc.. She sometimes took two to three day trips, on her own too. I have three sisters, all of which have that same adventurer's bug.
I'm quite different, in that respect. I love to spend my vacations, at home, pouring over interesting books, in the gardens, cooking, or just sitting on the lawn-swing, listening to birds. So I have never been to Wisconsin, and eaten the delicacy, of fresh cheddar cheese curds, myself. But just a mention of them, would incite, wistful-eyed, wordless, rapture from my family.
Being an avid 'Do-it-yourself '-er, and a hopeless people pleaser, I had no choice, but to learn the art of cheese making.
These are really easy, the only time consuming part, is the waiting. it takes good potion of the day, waiting. then another 12-24hours, in the fridge, before they are ready to eat. The only specialized items you need, are mesophilic starter and liquid rennet. I bought these at Midwest supply, which cost just under $20.00-(including shipping) I usually receive my order in 3-4 days. The New England Cheese Making Supply is a reliable one, on the east coast.
The starter is enough to convert 7-8 gallons of milk, into 7-8lbs. of cheese. If kept in the freezer, it keeps for a few years. The rennet can convert, many more gallons, and can be kept in the fridge.
You can use whole milk from the grocery store, but don't buy ultra-pasteurized, there isn't enough bacteria in it. I hear fresh raw milk, makes better cheese, but I would not attempt it, myself.
I pre-wash everything first, in regular dish water with a capful of bleach added to it, to make sure they are sterile. Be sure you rinse it, well.
Here's a short video, to show you how simple it is.This is exactly the same process, just on a much larger scale. The video begins, when they are heating the curd, after the culture and rennet have been added.
There are similar but different methods, of making these, I like Tara's method over at Cooking from scratch. It's very reliable. Also if your want your cheese to be orange, (The only difference between white and orange cheddar, is a coloring called annato) here's an ebay link for it. ground annato seed. I don't use it.
Supplies needed: (Makes 1lb. of cheese curds)
A double boiler -or two pots (I use a large stainless steel bowl, over a 4quart pan with 2inches of water in the pan.)
A good thermometer that can read below 100*f
1gallon whole milk
1/4tsp. of mesophilic starter culture
1/2tsp. liquid renet
1/2tsp. kosher salt (I have used pickling salt too)
2 layers of cheesecloth -or- 1 very thin kitchen towel
A colander
a rubber band
a 1 gallon jug-filled with water, for weight
parchment paper, or plastic wrap
(optional- I like to add 3/4tsp garlic powder and 1/2tsp dill)
Let's start making cheese:
Heat the milk, in the top of the double boiler, to 85*f . (About 15 minutes)
Remove the bowl from the heat and whisk in the culture. Cover, and let stand 1 hour. This allows the culture to multiply, just like yeast.
After one hour.
If I use herbs, this is when I add them. Just stir them in along with the rennet.
Add the rennet, then whisk it into the milk mixture. Cover and let stand for another hour.
The rennet will make the milk solidify, a bit, sort of like gelatin.
After an hour check to see if it has, what is called "A clean break" in cheese making. (Photo Below) To test it, run a knife through, and see if you can pull it apart cleanly. if it's still mushy, wait until you get a clean break.
Now it's time to separate the whey, from the curd.
Return the curd, back to the double boiler, and (slowly) heat, on a medium-low flame, to 100*f.
I try to take about, 30 minutes to bring it to 100*f .
Once you've reached it, turn the burner off, and set the bowl on the counter. The temperature will continue to rise, a few degrees. Try to keep a constant 100*f temperature for 30 minutes, stirring a few times, You may have to return it to the double boiler, to maintain the temp., but I usually don't. The whey will start separating from the curd.
After 30 minutes, the curds and whey should be well separated. (Photos Below)
Set the colander over a large pot, and line it with the cloth. Pour the curds and whey, into the colander.
Once it has stopped dripping, (about 20 minutes) Gather the edges of the cloth and secure with a rubber band.
Invert a saucer, over the curd, (still in the colander) And set the gallon jug, on top, to press out the whey. Let it sit for about 2 hours.
After 2 hours, unwrap the curd, and set it on a piece of parchment. Cut it into 1/2 to 1inch cubes.
The next step is called cheddar-ing.
Put the curds in a small bowl. Fill a larger bowl, with very hot tap water. Set the bowl with the curds in it. Floating. This will draw out more whey, and bring out some of the flavor.
Every 45 minutes or so, drain the whey, from the curds, and change the water in the bowl. trying to maintain a 95* temp. (It doesn't have to be exact) continue to do this for 3 hours.
after 3 hours, drain the whey, one last time. Sprinkle the salt, over the curds, and toss to coat.
Set the curds, back on the parchment. Cover and allow them to dry.
You can leave them out, for up to 36 hours, but I prefer to leave them out, until I go to bed, then put them in a bag, and refrigerate, until the next day, when they are ready to eat, after 12 hours. I prefer to let them set in the fridge, for one more day before serving, they really have a stronger flavor then. It's best to eat them within a few days, or they begin to lose flavor.
Heat the milk to 85*f. Remove it from the heat, and whisk in the culture. Let stand 1 hour. After the hour is up, stir in the rennet. Let stand another hour, or until you get a clean break.
This is a clean break, it is about the texture of thick pudding. Run a knife through it, see if it separates, and leaves a knife mark, and you can pull it apart, just a bit. If not, wait a bit longer, 5 minutes can make all the difference.
By the time you reach 100*f, you will see the curds starting to form. (This is from a batch I added herbs to.)
Once you've reached 100*, try to maintain a constant temp., for 30 minutes. Turn the burner off, remove the pan from the double boiler, and set it on the counter. It rose to 105* a few minutes later. (which is fine) but after 20 minutes, it dropped to 99*f, so I set it back on the warm double boiler, without a flame. It maintained 99*f for the final 10 minutes.
Place 2 layers of cheese cloth, or a very thin kitchen towel, over a colander. Pour the curds and whey into the colander.(I save the whey, for baking, and making ricotta cheese)
Once it has slowed dripping, (about 20minutes.) loosely gather the edges of the towel, and secure with a rubber band.
Place a saucer, over the towel, and set a gallon of water on top, to press out more whey, and give you a nice, solid block. Check after 2hours, you should have a solid, rubbery mass.
Unwrap the curd, and gently set it on a piece of parchment. it is solid, but still fragile.
Cut the curd into 1/2 to 1 inch cubes. If you taste it at this point, it really doesn't have much flavor yet. That comes from the next 2 steps, called 'Cheddaring', and age-ing
Cheddar-ing: Put the curds in a smaller bowl. Fill a larger bowl, half full of very hot tap water. This will draw out more whey from the curds, and give the cheese more flavor too. About every 45 minutes, drain the whey from the curds, and dump the water in the bowl, adding fresh hot water. You are trying to maintain a temp. of around 95*, but it doesn't have to be exact.
After 3 hours, Drain the whey, one last time. Sprinkle the salt over the curds, and toss to coat.
Set the curds, back on the parchment, and cover with a cloth. Now let it dry, until you go to bed. while it's drying, it will also be developing flavor. Before I go to bed, I put the curds, in a plastic bag, and refrigerate, where they will further develop flavor. They will be ready to eat in about 12 hours, but I prefer to wait one more day, before serving. Then they have a really good texture and flavor.
Whey is a by-product of cheese making. It has many uses, but my favorite is making ricotta cheese.
There are three methods of making ricotta. I prefer the 'Old World Style, but you don't get much, this way.
I usually wind up with 2/3 to 3/4 of a gallon of whey, from making a pound of cheddar. The first two recipes will be for that amount, of whey.
The Old World method:
Place the colander over a bowl, Line it with the towel.
Heat the gallon (or less) of whey to 200*f. Once it reaches about 180*f, you will see tiny particles, float to the surface. This is the protein in the whey, starting to coagulate. (These tiny particles, are the ricotta)
Once it reaches 200*, pour it slowly, into the colander. It will be near the boiling point, use caution. Let it drain, about 30minutes, then gather the corners of the cloth together, and secure with a rubber band. Let it hang over the colander, to drip for about 2 hours.
Remove the rubber band, and using a rubber spatula, scrape the cheese into a bowl, most of it will be clinging to the cloth. Chill. It's ready to use. You will wind up with about 2Tbl. of ricotta from this method.
Good for about 2weeks in the fridge.
The vinegar method. Not as smooth, but still fairly creamy. Yields 1/4 cup.
The vinegar method:
Proceed the same way, as the Old World method, except, add 2Tbl. white vinegar to they whey, after it reaches 200*f., stirring about 1 minute, before pouring it into the colander. You will wind up with about 1/4 cup of ricotta. The texture is not as smooth, but it tastes the same.
Ricotta from whole milk:
I won't have a photo for this method, I made it only once, and prefer to use whole milk, to make cheddar cheese curds. The cheese you get from this method is very chunky, and has to be broken up, before you can use it. Heat 2Quarts of whole milk, to 200*f., in a heavy pot. turn the burner off, and stir in 3-4Tbl. of white vinegar. Cover and let stand 15-20 minutes. Proceed to drain, the same as the other methods.
I think these thin, cotton kitchen towels, are perfect for cheese making. I add a little bleach, when I wash them.
Heat the whey to 200*f.
At around 180*f., You will see tiny particles begin to float on the surface.
Once it reaches 200*, Pour it into a towel lined colander. Let it drain, 30minutes. After 30 minutes, gather the edges of the towel, together, and secure with a rubber band. Lay across the top of the colander, or let it hang, for about 2 hours.
Most of the ricotta, will be clinging to the cloth. Use a rubber spatula, to scrape it into a pile. transfer to a dish and refrigerate. It's ready to use.