Sunday, November 18, 2012

Homemade Mascarpone Cheese

Mascarpone cheese

This is my first attempt, at making my own Mascarpone. Long story short, I found it impossible to get the temp. to 190*f. in a double boiler. So I transferred it to a heavy bottom pan, over the lowest flame possible. Worked perfectly.

1-quart heavy cream
2Tbl. lemon juice

or
1pint whipping cream
1Tbl. lemon juice

or
1cup whipping cream
1-1/2tsp. lemon juice
a thermometer
colander
cheesecloth or a thin kitchen towel

Pour the cream into a heavy bottom saucepan, and clip a thermometer onto it.
Heat the cream to 190*F. over a low flame, stirring often. turn the burner off.
Stir in the lemon juice, and try keeping it at the same temp. for 5 minutes, or until thick enough to coat a spoon. Just make sure it doesn't reach 212*F (boiling)
After 5 minutes, set it on the counter, and let cool. I allowed it to set at room temp. for two hours, to give it a bit longer, to thicken.
Line a colander with a thin kitchen towel, or several thicknesses of cheesecloth, and set it over a bowl.
Slowly pour the cheese into the colander.
Cover with plastic wrap, and refrigerate, at least, overnight. The longer you allow the whey to drip, the thicker it will be. If you want very thick cheese, leave it in the fridge another day.
Scrape the cheese from the cloth, into a bowl, it's ready to use.

After letting it cool 2-hours, pour it into a cloth lined colander, over a bowl. Cover with plastic wrap, and refrigerate, overnight.
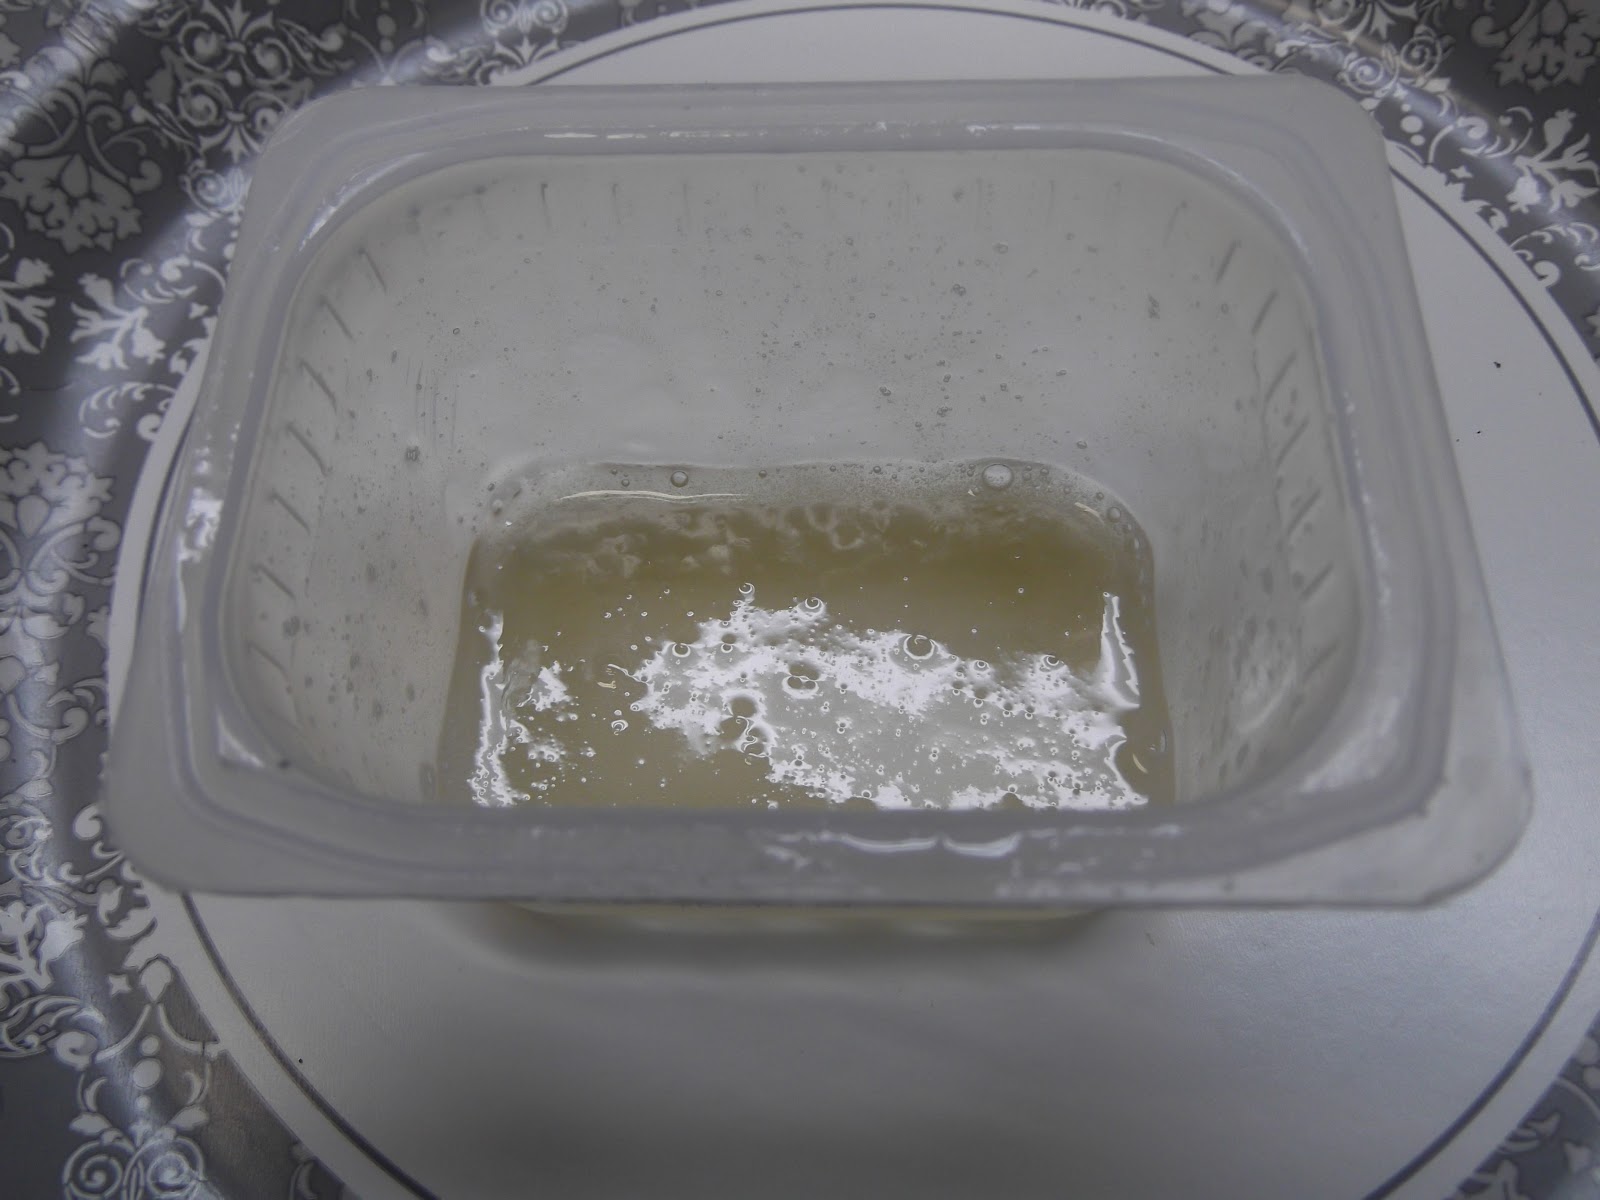
Transfer the cheese, to a container. Use a rubber spatula to scrape the cheese, clinging to the cloth.
1-quart of cream, yielded a little over 2-cups of cheese


Thursday, November 1, 2012

Make cake flour, from all-purpose flour

Sift 5 or 6 times.

For every cup of flour:
Remove 2Tbl. of flour, and replace it with 2Tbl.of cornstarch. Sift 5 or six times.

If you recipe calls for a fraction of a cup:
3/4cup -  4-1/2tsp. cornstarch
2/3cup - 4tsp. cornstarch
1/2cup - 1Tbl. cornstarch
1/3cup - 2tsp.  cornstarch
1/4cup - 1-1/2tsp. cornstarch

So if a recipe calls for 2-1/3cups cake flour.
Measure out 2-1/3cups of all-purpose flour.
Remove 4Tbl. plus 2tsp. flour.
Add 4Tbl. plus 2tsp. of cornstarch.
Sift the flour, by pouring it into a strainer, over a bowl, tapping the side of the strainer.
Repeat the sifting, 4 or 5 more times. Re-measure before adding it to a recipe, the sifting will increase the volume a bit. Dump any remaining cake flour, back into the all-purpose.

Wednesday, October 24, 2012

The best exfoliator in my arsenal- make your own Biore-type pore strips


When I was young, and idealistic, I decided I was going to grow old gracefully. I wasn't going to fight it, no hair dye, no anti-wrinkle cream, no poodle-perm, just accept myself, for who I am....ya right.
As I became "of a certain age" I found nothing graceful about it what..so..ever!
I noticed my skin becoming dull, and fine lines appearing... you know, the usual aging routine. I found out, quite by accident, that a lot of that is due to a thin layer of dry, skin. Not the flaky dry skin, but stuff that is really attached. I'd used all kinds of exfoliators, trying to remove it, loofa, pumice, expensive creams. Nothing really made a lot of difference. Then one day I found a recipe for homemade Biore-type gel. It works just as well as Biore, to remove stuff from your pores, by the way. But it had an added side effect, that really made my day, It peeled away, that dull layer of skin, I was left with bright, new, healthy, pink skin. A lot less lines, too. I use it about once a month.
Take that -Mother Nature! Now, if only I could do something, about those wiry grey hairs..

Ingredients:
1spoon unflavored gelatin
2 spoons water
Stir together, and microwave 10 seconds.Allow to cool 2-minutes, and spread onto skin.
Avoid getting any on your eyebrows or hairline. It will remove any hair it comes in contact with.
As a precaution, I wipe along my hairline and brows, with a wet cloth, just in case.
Let it dry, until your face feels really tight.
Peel away the dried gel. Splash water on you face to dissolve, any leftover particles. Pat dry, and follow with a light moisturizer, to protect the newly exposed skin.

In a microwave safe container, add 1spoon of unflavored gelatin.

Stir in, two spoons of water.
Microwave 10-seconds, and allow to cool 2-minutes, before applying it to your skin. make sure you put it on thick enough, that it will be easier to peel.
Peel.


How to dry citrus peel

After having spent nearly $8.00 for a bottle of grated lemon peel, I wondered if it was safe, to grate your own, and air dry them. Turns out, you can.


Grate the skin, being careful, not to remove any of the pith.

Spread them thinly, on a plate, and let them air dry. I was concerned, they might stick to the plate, so I tossed them, a few times, during the first 24-hours.

It took 4 days, for them to dry.
Pulse them a few times, in a spice grinder or food processor. 4 oranges yielded about 1/4-cup.


Monday, October 22, 2012

Self Rising Flour


Ingredients:
1cup flour
1/4tsp. salt
1-1/2tsp. baking powder

or

2cups flour
1/2tsp. salt
1Tbl. baking powder

Preparation:
Whisk to combine.

Sunday, October 21, 2012

Coconut Oil - Hand Cream

Coconut Oil - Hand Cream. You can find coconut oil, in the cooking oil section, of your grocer.

Spoon coconut oil into a jar. Heat it in the microwave, a few seconds, to melt.
Stir in a few drops of fragrance oil, if you like.
Allow to cool, until it becomes solid again.
To use it, just run your fingers across the oil, it melts at body temperature.
Rub onto your skin, it doesn't take much. A small container lasts a long time.

Dark Soy Sauce

Dark Soy Sauce is hard to find. Luckily it's easy to make.
Makes 3/4-cup.
1/4cup kikkoman soy sauce
2Tbl. water
2Tbl. molasses
1/2cup brown sugar
Add all ingredients to a bowl, and mix well.